JTAG/SWD Debug Probe
The USB adapter that drives a target's JTAG or SWD port so a host tool like OpenOCD can halt the CPU, read and write memory, and dump internal flash without running any of the target's own software.
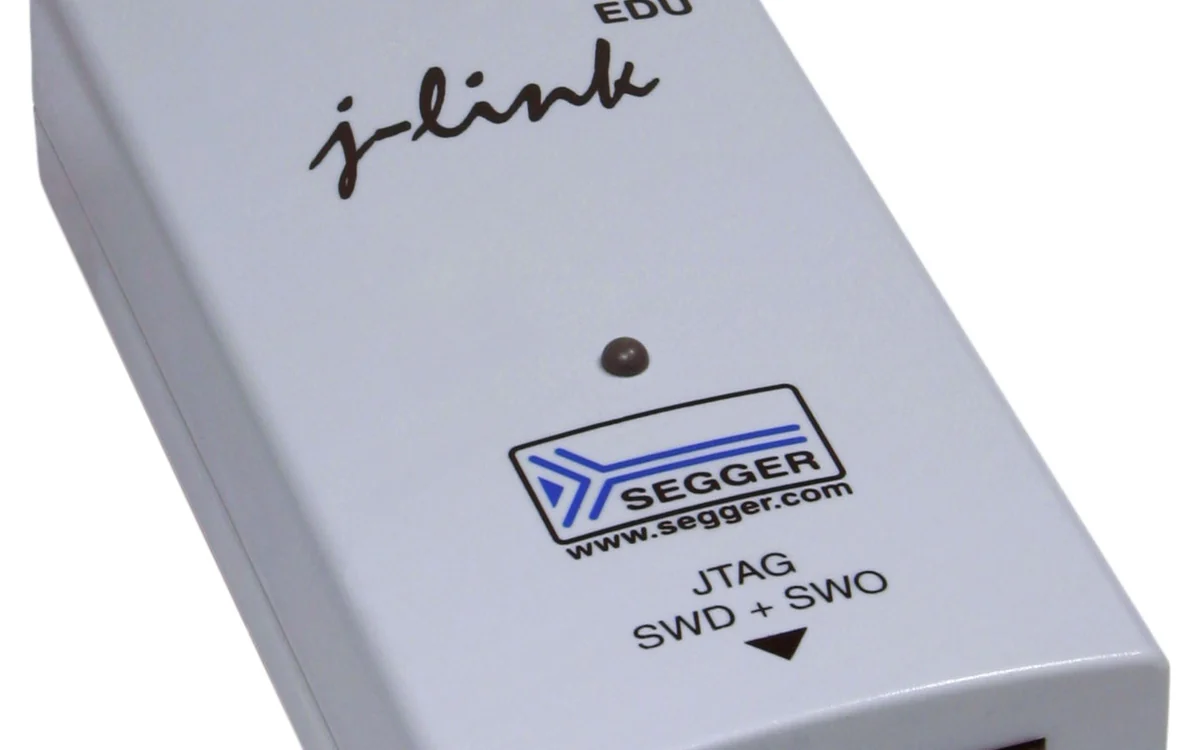
A JTAG/SWD debug probe is the USB adapter between your host and a microcontroller's on-chip debug port. It does not run code on the target; it drives the debug transport that the CPU core exposes in hardware, which is why a working probe gives you halt, single-step, register access, arbitrary memory reads and writes, and a full internal-flash dump even on a device whose firmware never cooperates. It is the counterpart to Wiki: jtag-swd-pads on the board, and the thing Wiki: openocd talks to on the host.
What it is
Probes differ mostly in transport support, speed and price:
| Probe | Notes |
|---|---|
| SEGGER J-Link | broadest device support, fastest flash algorithms, EDU version for non-commercial use |
| ST-Link V2 (and clones) | very cheap, SWD-focused, works well beyond ST parts through OpenOCD |
| CMSIS-DAP / DAPLink | open standard firmware, no vendor driver needed, runs on many boards |
| Black Magic Probe | hosts its own GDB server, so you connect GDB straight to it with no OpenOCD in between |
| FT2232H boards | the FTDI MPSSE engine bit-bangs JTAG or SWD, and the same chip also does SPI and UART |
| Raspberry Pi Pico (picoprobe) | a ten-euro board flashed into a usable CMSIS-DAP probe |
Do not confuse a probe with a JTAGulator, which finds unlabelled JTAG pins by brute-forcing pin permutations. That is a discovery tool; the probe is what you attach once the pinout is known.
Signals
JTAG uses TCK, TMS, TDI, TDO, plus optional TRST and SRST. SWD, the two-wire ARM variant, uses SWCLK and SWDIO, plus optional SWO for trace output. Both need GND, and both want VTref so the probe can match the target's IO voltage. Many parts expose both, sharing pins: SWD is what you use in practice on ARM Cortex-M.
How it is used
# Bring up the transport and the target definition.
openocd -f interface/stlink.cfg -f target/stm32f1x.cfg

# In another shell, drive it over the telnet console.
telnet localhost 4444
> halt
> mdw 0x08000000 16              # read 16 words of flash
> dump_image dump.bin 0x08000000 0x10000
> reset run

# Or attach a debugger instead.
gdb-multiarch -ex 'target extended-remote localhost:3333' ./firmware.elf
A successful attach prints the target's IDCODE and the detected core. That alone confirms the pinout and the transport, before you ever read memory.
Where it stops
A probe that connects is not a probe that reads. Vendors gate memory access behind read-out protection, and this is the single most common wall:
- STM32 RDP. Level 1 blocks debug access to flash and SRAM while the debug port still answers; going back to Level 0 mass-erases the chip. Level 2 disables the debug port permanently.
- ESP32 eFuse.
JTAG_DISABLEand the secure-boot/flash-encryption eFuses can burn JTAG off for good. - Nordic APPROTECT. Blocks the AHB access port; the recovery path erases the whole device.
In each case the debug port may respond, the IDCODE may read fine, and every memory access still fails. That is protection working, not a broken setup.
Pitfalls
- VTref not connected. The probe cannot sense the IO voltage and either refuses or drives the wrong level. Wire it to the target's IO rail.
- Adapter speed too high. SWD and JTAG clocks must stay well under the target's core clock, especially before the PLL is configured. Transport errors right after reset usually mean you should drop to
adapter speed 100and raise it once attached. - The wrong target config. OpenOCD needs a target file matching the actual part; a close-enough one produces confusing flash-write failures.
- Reset lines. Some targets only attach
under resetbecause firmware disables the debug pins or sleeps the core early.reset_config srst_onlyplus a wired nRESET solves attaches that otherwise fail intermittently. - Clone ST-Links. Widely usable, but firmware versions vary and some refuse to update or only expose SWD. If a clone behaves oddly against a non-ST target, try CMSIS-DAP or a J-Link before blaming the board.
- Pins repurposed by firmware. On many MCUs SWD pins can be reassigned as GPIO at boot. The window between reset and that reassignment is your only attach opportunity.